Demo Inbox
The Demo Inbox helps labels receive, organize, and respond to demo submissions from artists. Review tracks, listen to submissions, and send professional responses all from one place.
Accessing the Demo Inbox
Section titled “Accessing the Demo Inbox”- Go to Demo Inbox from the main menu
- View all demo submissions in a sortable table
- Click on any submission to view details
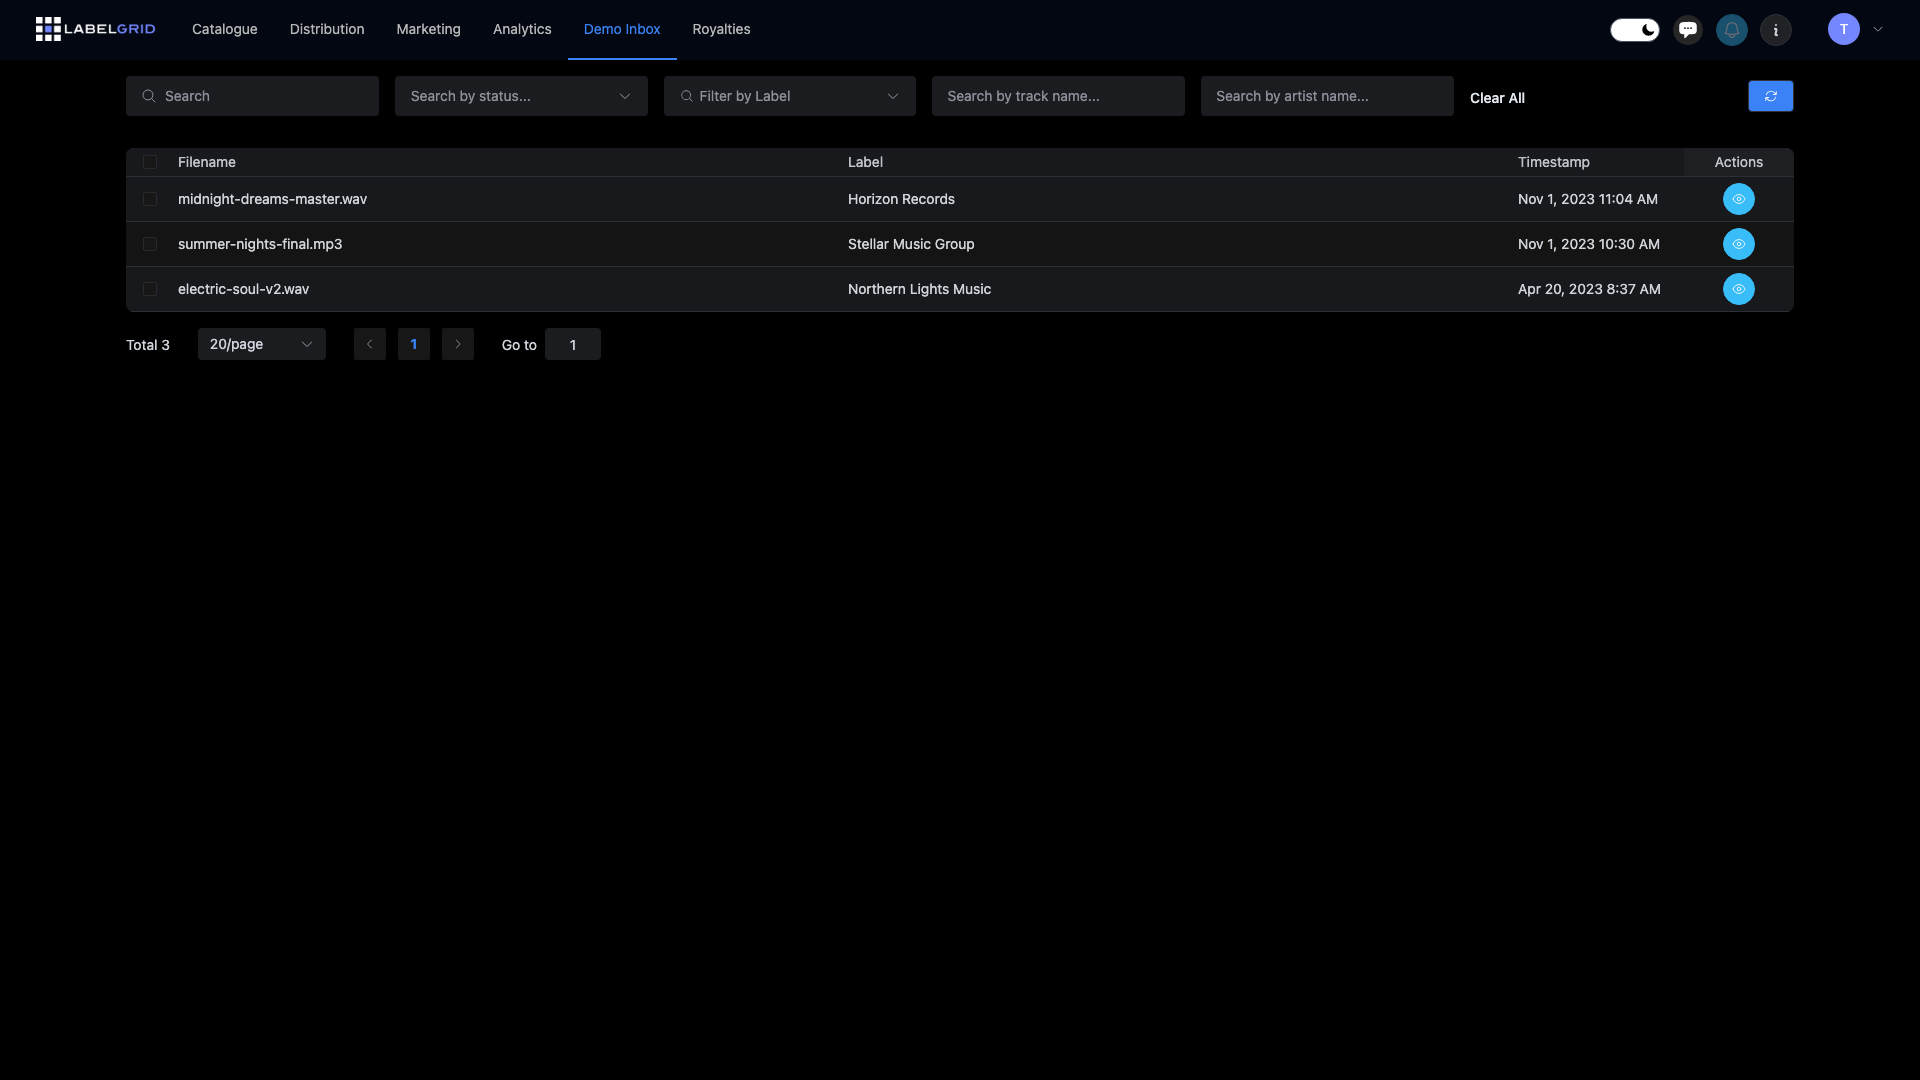
Demo submission list
Section titled “Demo submission list”The Demo Inbox displays all submissions in a table format:
| Column | Description |
|---|---|
| Filename | The name of the uploaded audio/video file |
| Label | Which of your labels received the submission |
| Timestamp | When the demo was submitted |
| Actions | View details button |
Sorting and filtering
Section titled “Sorting and filtering”- Click column headers to sort submissions
- Most recent submissions appear first by default
- Use pagination to navigate through large lists
Viewing demo details
Section titled “Viewing demo details”Click View Details on any submission to see the complete information:
Submitter information
Section titled “Submitter information”| Field | Description |
|---|---|
| Artist’s contact email | |
| Artist’s Legal Name | The submitter’s real name |
| Main Artist(s) | Artist or project name |
| Remix Artist | Remixer name (if applicable) |
| Track | Track title |
| SoundCloud URL | Link to artist’s SoundCloud profile |
| Facebook URL | Link to artist’s Facebook page |
| DJ Support | Any DJ support information provided |
| Comment | Additional notes from the artist |
File playback
Section titled “File playback”Listen to or watch submissions directly in the browser:
- Audio files (MP3, WAV, FLAC) - Waveform player with playback controls
- Video files (MP4) - Video player with playback controls
Download options
Section titled “Download options”Save demos for offline review:
- Download File - Direct download to your device
- Save to Dropbox - Send directly to your Dropbox account
- Save to Google Drive - Save to your Google Drive
- Show Secret Link - Get a private shareable link for internal use
Reviewing demos
Section titled “Reviewing demos”Approving a demo
Section titled “Approving a demo”When you find a demo you want to sign or work with:
- Open the demo details page
- Click Approve
- Select a response message:
- Label preset message - Your pre-configured approval message
- Custom message - Write a personalized response
- Click Approve to confirm
The artist receives your approval message via email.
Rejecting a demo
Section titled “Rejecting a demo”To decline a submission professionally:
- Open the demo details page
- Click Reject
- Select a response message:
- Label preset message 1 - First pre-configured rejection message
- Label preset message 2 - Second pre-configured rejection message
- Custom message - Write a personalized response
- Click Reject to confirm
The artist receives your rejection message via email.
Status indicators
Section titled “Status indicators”Demos show their review status:
| Status | Meaning |
|---|---|
| Pending | Not yet reviewed |
| Approved | You approved this submission |
| Rejected | You declined this submission |
Once a demo is approved or rejected, the action buttons are replaced with a status message.
Setting up message presets
Section titled “Setting up message presets”Configure default response messages for your label:
- Go to Catalog > Labels
- Select your label
- Navigate to the Message Presets section
- Configure your messages:
| Message Type | Description |
|---|---|
| Approve Message | Default message sent when you approve a demo |
| Reject Message 1 | First rejection message option |
| Reject Message 2 | Second rejection message option |
Example messages
Section titled “Example messages”Approval message:
Thank you for your submission! We loved your track and would like to discuss releasing it on our label. Please reply to this email so we can arrange the details.
Rejection message 1:
Thank you for sending us your demo. While this particular track isn’t the right fit for our label at this time, we encourage you to continue creating and to submit again in the future.
Rejection message 2:
We appreciate you thinking of us for your release. Unfortunately, this submission doesn’t match our current roster direction. Best of luck with your music!
Best practices
Section titled “Best practices”For efficient demo review
Section titled “For efficient demo review”- Set up preset messages - Save time with pre-written responses
- Review regularly - Check your inbox weekly to respond promptly
- Listen fully - Give each submission a fair listen before deciding
- Be professional - Even rejections should be respectful and encouraging
Managing high volume
Section titled “Managing high volume”If you receive many submissions:
- Sort by date to review oldest submissions first
- Use the pagination to work through batches
- Set aside dedicated time for demo review
Setting up demo submissions
Section titled “Setting up demo submissions”Your label has a unique demo submission URL where artists can send you music. To set this up:
Enable demo submissions
Section titled “Enable demo submissions”- Go to Catalog > Labels
- Select your label
- Find the Demo Settings section
- Enable demo submissions for your label
Your demo submission URL
Section titled “Your demo submission URL”Once enabled, your label gets a unique URL where artists can submit demos:
https://app.labelgrid.com/demo/[your-label-slug]Share this URL on your:
- Website
- Social media profiles
- Artist submission pages
- Music blogs and forums
What artists see
Section titled “What artists see”When artists visit your demo submission URL, they can:
- Upload their audio or video file
- Fill in their contact information
- Provide links to their socials (SoundCloud, Facebook, etc.)
- Add any additional notes
Once submitted, the demo appears in your Demo Inbox for review.
Customizing the submission form
Section titled “Customizing the submission form”Configure what information you collect from artists in your label settings:
- Required fields vs. optional fields
- Social media links to request
- Additional questions or fields
Need help?
Section titled “Need help?”Questions about the Demo Inbox? Contact our support team.
Not using LabelGrid yet?
Everything you just read about is available on our platform.
See what LabelGrid can do →