Creating a Release
This guide walks you through creating a release on LabelGrid, explaining each field and its requirements.
Before You Start
Section titled “Before You Start”Make sure you have:
- Audio files - WAV, AIFF, or FLAC format (lossless only, 16-bit/24-bit/32-bit, 44.1kHz+ stereo)
- Cover artwork - 3000×3000 pixels minimum, JPEG or PNG, sRGB color space
- Release information - Title, artist name, genre, catalog number
Step 1: Start a new release
Section titled “Step 1: Start a new release”-
Go to Catalogue → My Releases in the navigation.
-
Click Add Release.
-
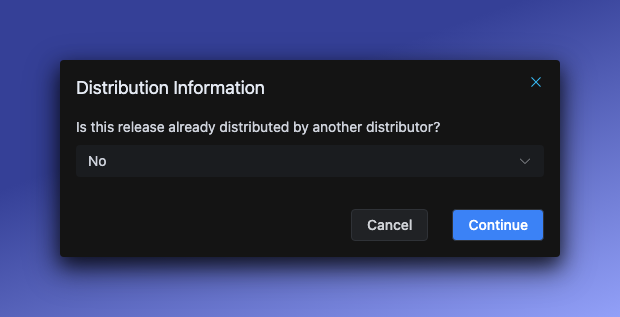
The Distribution Information dialog appears:
- Select No if this is a brand new release
- Select Yes if transferring from another distributor (enter the previous distributor’s name)
-
Click Continue to open the release form.
Step 2: Upload cover artwork
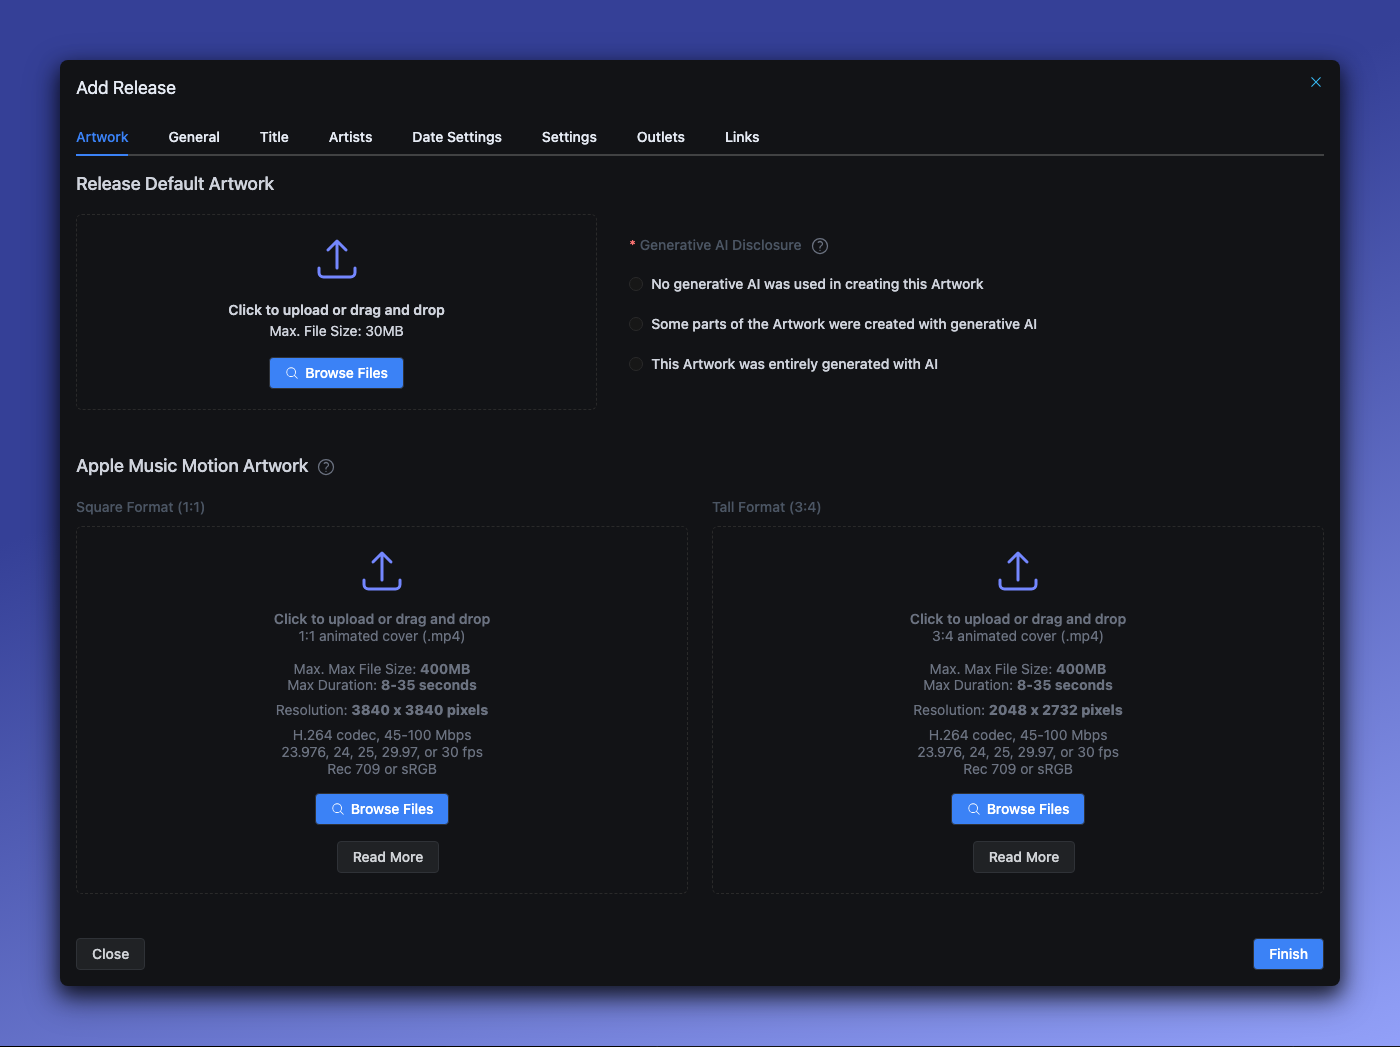
Section titled “Step 2: Upload cover artwork”The form opens on the Artwork tab.
Cover image requirements
Section titled “Cover image requirements”| Requirement | Value |
|---|---|
| Minimum size | 3000 × 3000 pixels |
| Format | JPEG or PNG (PNG auto-converts to JPEG) |
| Color space | sRGB (CMYK auto-converts) |
| Max file size | 300MB |
Why this matters: Streaming platforms require high-resolution artwork. Images below 3000×3000 will be flagged during review.
AI disclosure (required)
Section titled “AI disclosure (required)”You must disclose how AI was used in creating your artwork:
| Option | When to use |
|---|---|
| No generative AI was used | Traditional artwork, photos, hand-drawn |
| Some parts were created with generative AI | AI-assisted (e.g., AI background with hand-drawn elements) |
| Entirely generated with AI | Fully AI-created artwork |
Why this is required: Streaming platforms now require AI disclosure. This information is sent to all DSPs. For full details on AI policies, see AI-Generated Content.
Apple Music Motion Artwork (optional)
Section titled “Apple Music Motion Artwork (optional)”You can upload animated artwork for Apple Music. This appears as a looping video on Apple devices.
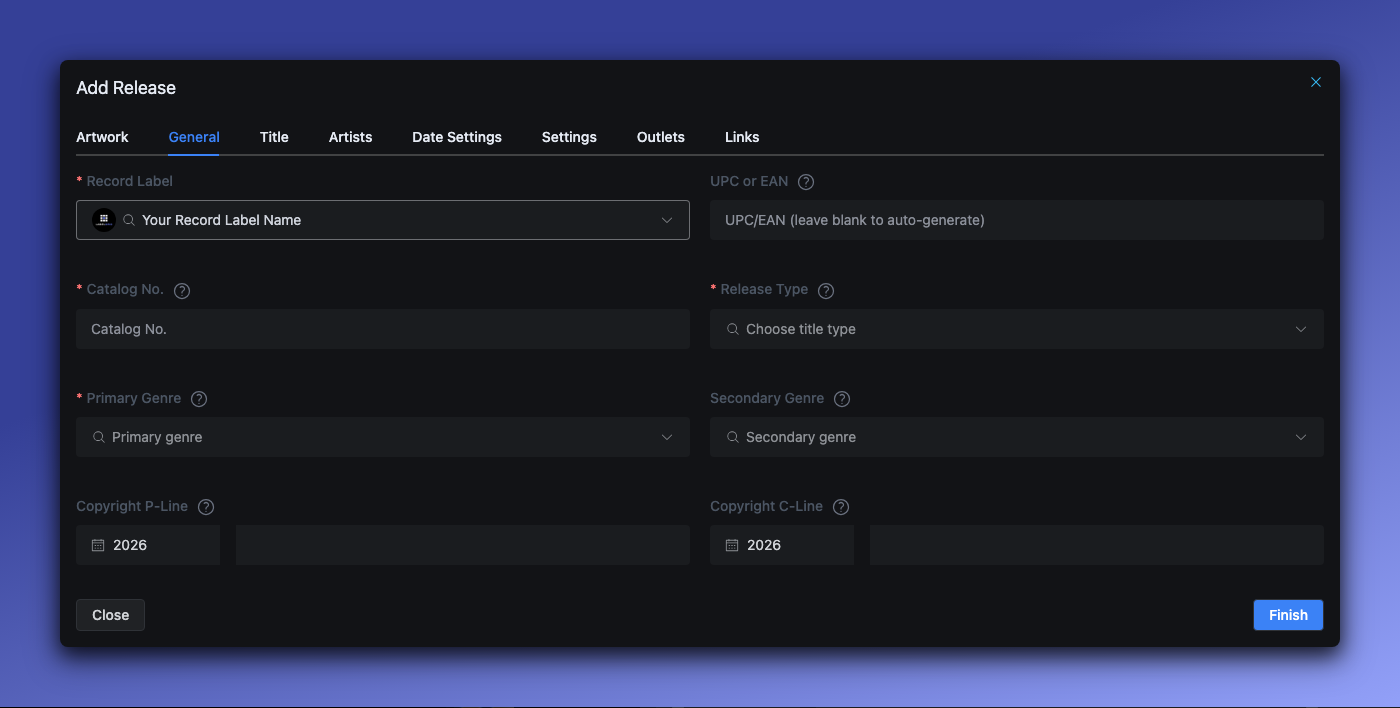
Step 3: Set general information
Section titled “Step 3: Set general information”Click the General tab.
Record Label (required)
Section titled “Record Label (required)”Select which label this release belongs to. The label determines:
- Available distribution outlets
- Default copyright information
- Barcode pool (for auto-generated UPCs)
UPC/EAN barcode
Section titled “UPC/EAN barcode”| Requirement | Value |
|---|---|
| Format | 12 digits (UPC) or 13 digits (EAN) |
| Uniqueness | Must be unique across all releases |
| Auto-generation | Leave blank to auto-generate from your label’s barcode pool |
Catalog Number (required)
Section titled “Catalog Number (required)”| Requirement | Value |
|---|---|
| Max length | 20 characters |
| Uniqueness | Must be unique within your label |
| Allowed characters | Any characters |
Example: LABEL001, HR-2025-001, ABC123
Best practice: Use a consistent format across all releases for easy organization.
Release Type (required)
Section titled “Release Type (required)”| Type | Definition |
|---|---|
| Single | 1-3 tracks, each under 10 minutes, total under 30 minutes |
| EP | 4-6 tracks with total runtime under 30 minutes, OR 1-3 tracks where at least one is 10+ minutes |
| Album | 7+ tracks, or over 30 minutes total |
| Compilation | Tracks from various artists |
| Mix | DJ mix or continuous mix |
| Podcast | Audio podcast content (requires podcast-enabled account) |
Primary Genre (required)
Section titled “Primary Genre (required)”Select the main genre for your release. This affects:
- How platforms categorize your music
- Which playlists you may be considered for
- Search discoverability
Secondary Genre (optional)
Section titled “Secondary Genre (optional)”Add a secondary genre if your music spans multiple styles.
Copyright P-Line and C-Line
Section titled “Copyright P-Line and C-Line”| Field | Purpose | Format | Example |
|---|---|---|---|
| P-Line | Sound recording copyright (who owns the master) | YEAR Name | 2025 Horizon Records |
| C-Line | Composition copyright (who owns the song) | YEAR Name | 2025 Luna Martinez |
- Max length: 255 characters each
- Optional: If left blank, uses your label’s default copyright settings
- Year must be: Greater than 1500 and cannot be later than the release date year. For example, a release with a 2020 release date cannot have a 2026 P-Line or C-Line year
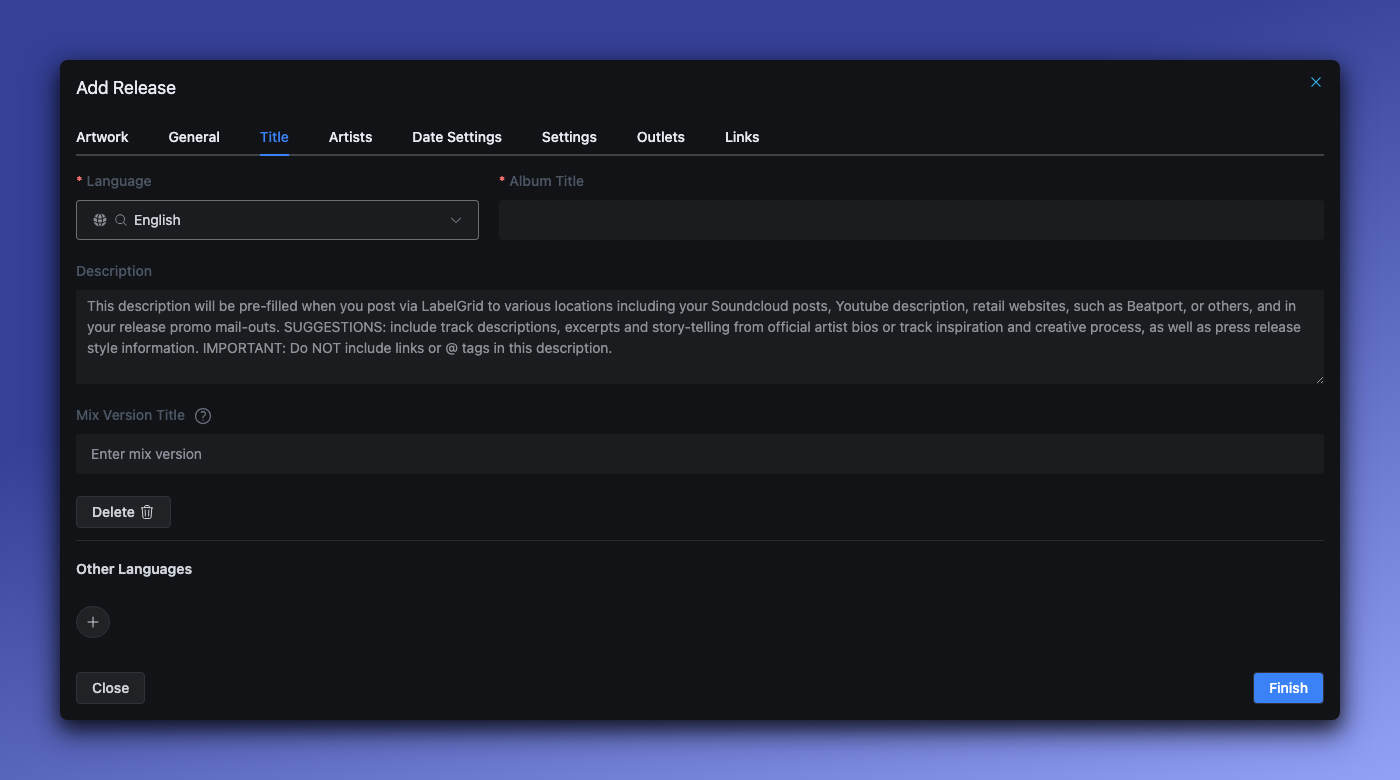
Step 4: Add title information
Section titled “Step 4: Add title information”Click the Title tab.
Release Title (required)
Section titled “Release Title (required)”Enter your release title. You can add the title in multiple languages to support international audiences.
How multiple languages work:
- Add translations - Click to add titles in different languages (Japanese, Chinese, Korean, etc.)
- Set a default - Select which language version is the “preferred” title
- Latin characters required - Always include a title in Latin characters (English, Spanish, etc.) for global compatibility
How DSPs use translations: Streaming platforms may display the localized title to users in that region, or they may use only the default/Latin title globally. This varies by platform - not all DSPs support localized titles.
Do:
- Use the official release title
- Include featured artists in the title if relevant
- Always provide a Latin-character version for searchability
Don’t:
- Add promotional text (“OUT NOW!”, “NEW!”)
- Include the artist name (that goes in the Artist field)
Version/Mix (optional)
Section titled “Version/Mix (optional)”Use for remixes, acoustic versions, live recordings, etc.
Examples: Radio Edit, Extended Mix, Acoustic Version, Live at Madison Square Garden
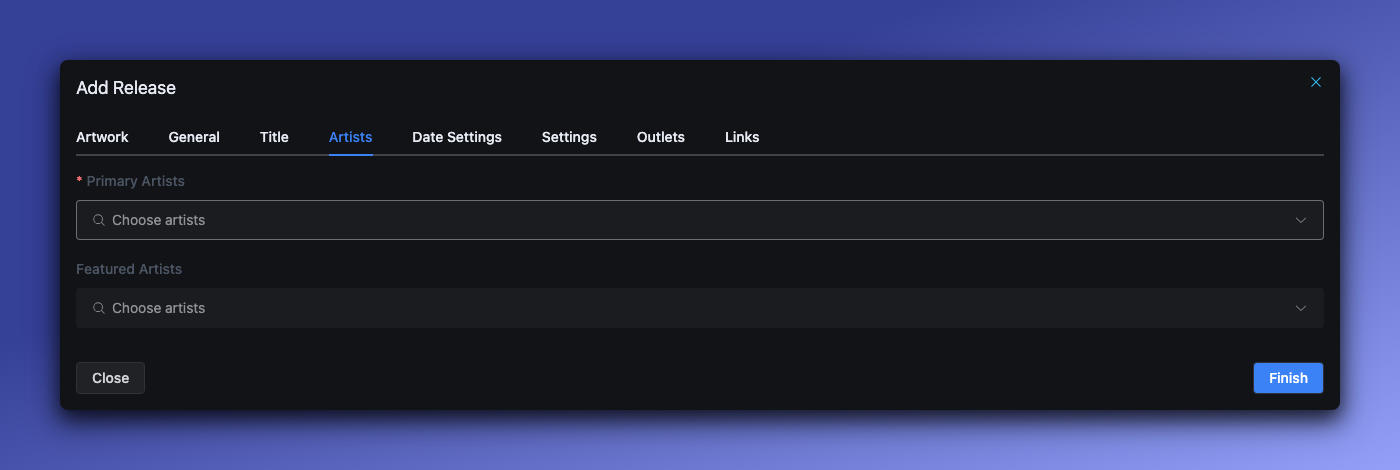
Step 5: Add artists
Section titled “Step 5: Add artists”Click the Artists tab.
Artist roles
Section titled “Artist roles”| Role | Description | Required? |
|---|---|---|
| Main Artist | Primary performer | Yes - at least one |
| Featured Artist | Guest appearances | Optional |
Important rule: Each artist can only have ONE role per release. An artist cannot be both Main Artist and Featured Artist on the same release.
Various Artists handling
Section titled “Various Artists handling”You do not need to type “Various Artists” — the system handles this automatically. Simply add each artist with their correct role, and LabelGrid determines when to display “Various Artists” based on the number of unique main artists on the release.
All individual artists remain credited at the track level regardless, so every contributor gets proper credit on platforms that support it.
Spotify note: Spotify displays “Various Artists” on releases with 5 or more main artists. Releases with fewer than 5 main artists show all artists individually.
Adding an artist
Section titled “Adding an artist”- Click Add Artist
- Search for an existing artist or create new
- Select the role (Main Artist or Featured Artist)
Artist requirements
Section titled “Artist requirements”- Minimum: At least one Main Artist is required
- Album rule: Main artists at release level must appear on at least one track
- Consistency: Artists appearing on ALL tracks should be listed at release level
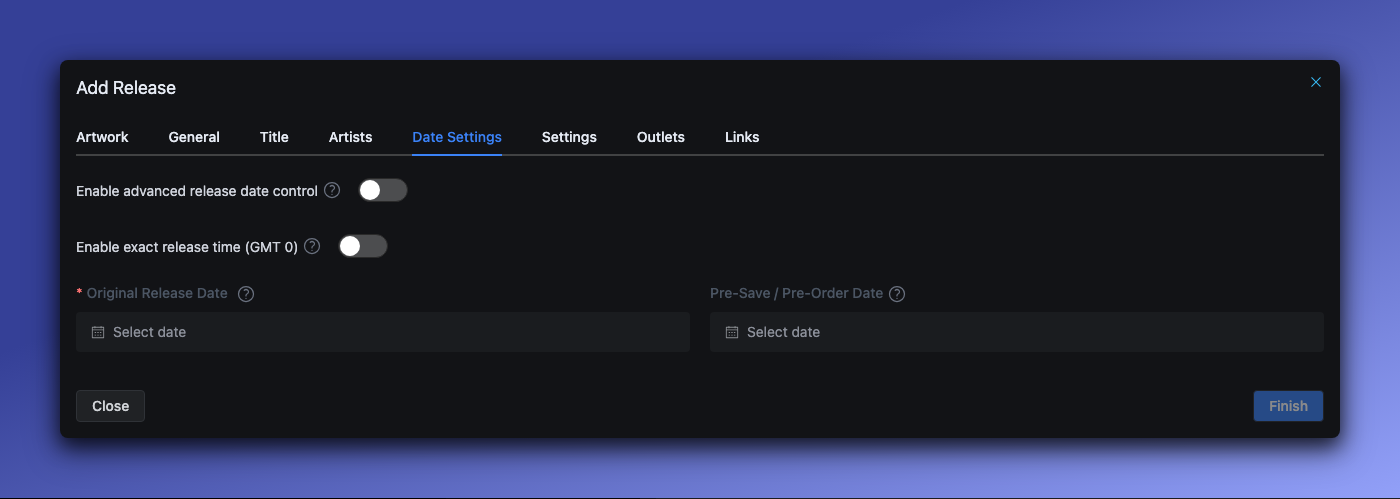
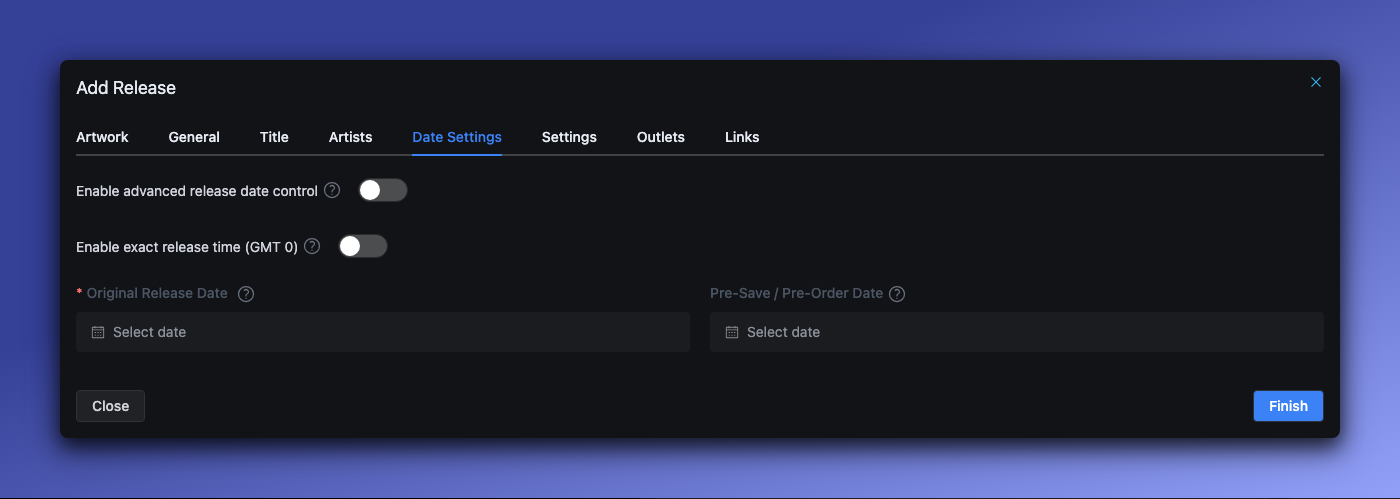
Step 6: Configure release dates
Section titled “Step 6: Configure release dates”Click the Date Settings tab.
Original Release Date (required)
Section titled “Original Release Date (required)”When your release goes live on streaming platforms.
Rules:
- Can be today or a future date
- If set in the past, automatically adjusts to today
- Recommend setting at least 7-14 days in advance for playlist consideration
Pre-Save / Pre-Order Date (optional)
Section titled “Pre-Save / Pre-Order Date (optional)”When pre-orders become available before the release date.
Rules:
- Must be before the release date
- Apple Music/iTunes limit: Maximum 366 days before release date
Advanced date controls
Section titled “Advanced date controls”Toggle Enable advanced release date control for:
- Territory-specific release dates
- Scheduled takedowns
- Custom preview dates for cover art and track listings
See also: Advanced Date Settings for territory-specific scheduling.
Step 7: Configure settings
Section titled “Step 7: Configure settings”Click the Settings tab.
Additional release settings including:
- Explicit content flag
- Auto-distribution preferences
- Additional metadata options
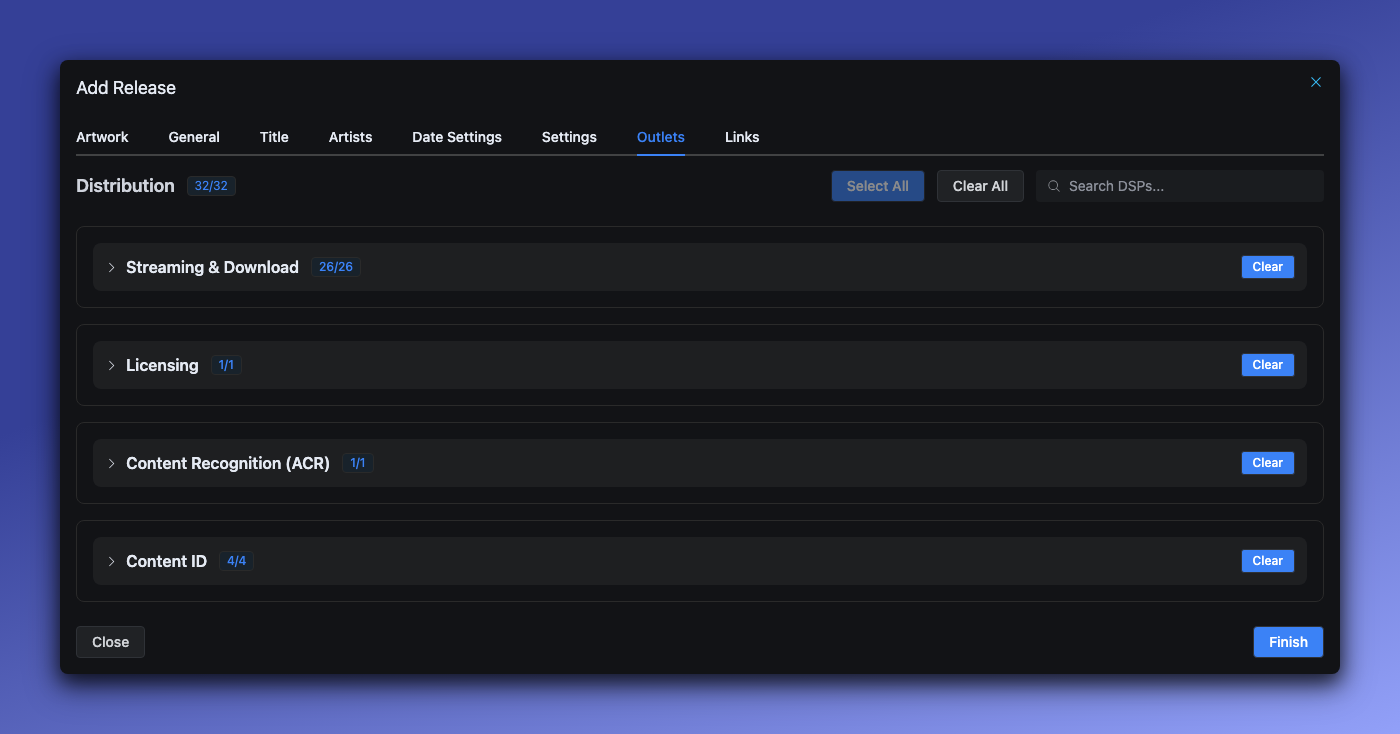
Step 8: Select distribution outlets
Section titled “Step 8: Select distribution outlets”Click the Outlets tab.
Select which streaming platforms to distribute to:
- All outlets - Distribute to all available platforms
- Select specific - Choose individual platforms
Available outlets depend on your label’s configuration and subscription plan.
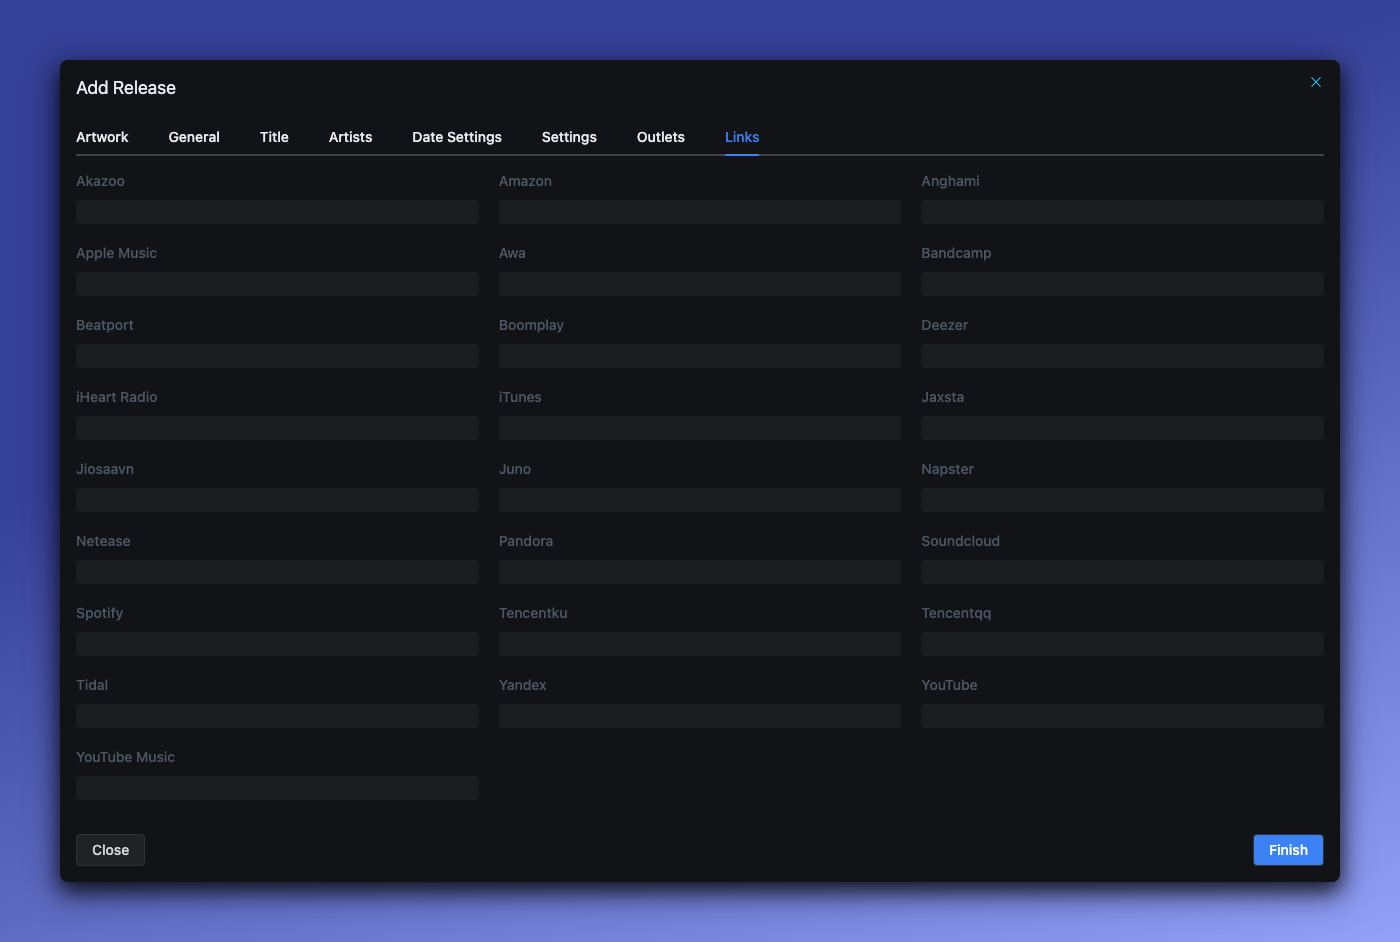
Step 9: Add external links (optional)
Section titled “Step 9: Add external links (optional)”Click the Links tab.
Add existing store URLs if this release is already live elsewhere:
- Spotify URL
- Apple Music URL
- Other platform links
This helps LabelGrid link to existing catalog entries.
Step 10: Save and continue
Section titled “Step 10: Save and continue”Click Finish to save your release.
Your release is now in Draft status. Next steps:
- Add tracks to your release
- Validate and submit for review when complete
Field reference summary
Section titled “Field reference summary”| Field | Required | Max Length | Notes |
|---|---|---|---|
| Cover Artwork | Yes | 300MB | 3000×3000px min, JPEG/PNG |
| AI Disclosure | Yes | - | none/some/all |
| Record Label | Yes | - | Determines outlets. Permanent — cannot be changed after creation. |
| Catalog Number | Yes | 20 chars | Unique per label |
| UPC/EAN | Auto | 13 chars | Auto-generated if blank |
| Release Type | Yes | - | Single/EP/Album/etc. |
| Primary Genre | Yes | - | From genre list |
| Title | Yes | 255 chars | Per language |
| Main Artist | Yes | - | At least one |
| Release Date | Yes | - | Today or future |
| P-Line/C-Line | No | 255 chars | Format: “YEAR Name” |
Common issues
Section titled “Common issues””Catalog number already exists”
Section titled “”Catalog number already exists””Each catalog number must be unique within your label. Solutions:
- Add a suffix (e.g.,
LABEL001-A) - Use a different numbering format
”Artist can only have one role”
Section titled “”Artist can only have one role””Remove the duplicate artist and add them with a single role. If an artist is both performing and remixing, add them once as Main Artist.
”Artwork dimensions too small”
Section titled “”Artwork dimensions too small””Resize your artwork to at least 3000×3000 pixels before uploading.
”AI disclosure is required”
Section titled “”AI disclosure is required””Select one of the three AI disclosure options in the Artwork tab.
”I selected the wrong label”
Section titled “”I selected the wrong label””The label on a release is permanent and cannot be changed after the release is created. If the release has already been distributed, you can migrate it without losing streaming history:
- Create a new label if needed (see Creating a Label)
- Create a new release under the correct label using the same ISRCs but a new UPC
- Distribute the new release first — DSPs will link it to the existing content via the matching ISRCs
- Take down the old release after the new one is live on platforms
This process takes a few business days for DSP processing. Contact support if you need help coordinating the timing.
What’s next?
Section titled “What’s next?”- Adding Tracks - Upload audio files to your release
- Validation and Review - Submit for distribution
- Advanced Date Settings - Territory-specific scheduling
Need help? Contact our support team
Not using LabelGrid yet?
Everything you just read about is available on our platform.
See what LabelGrid can do →